


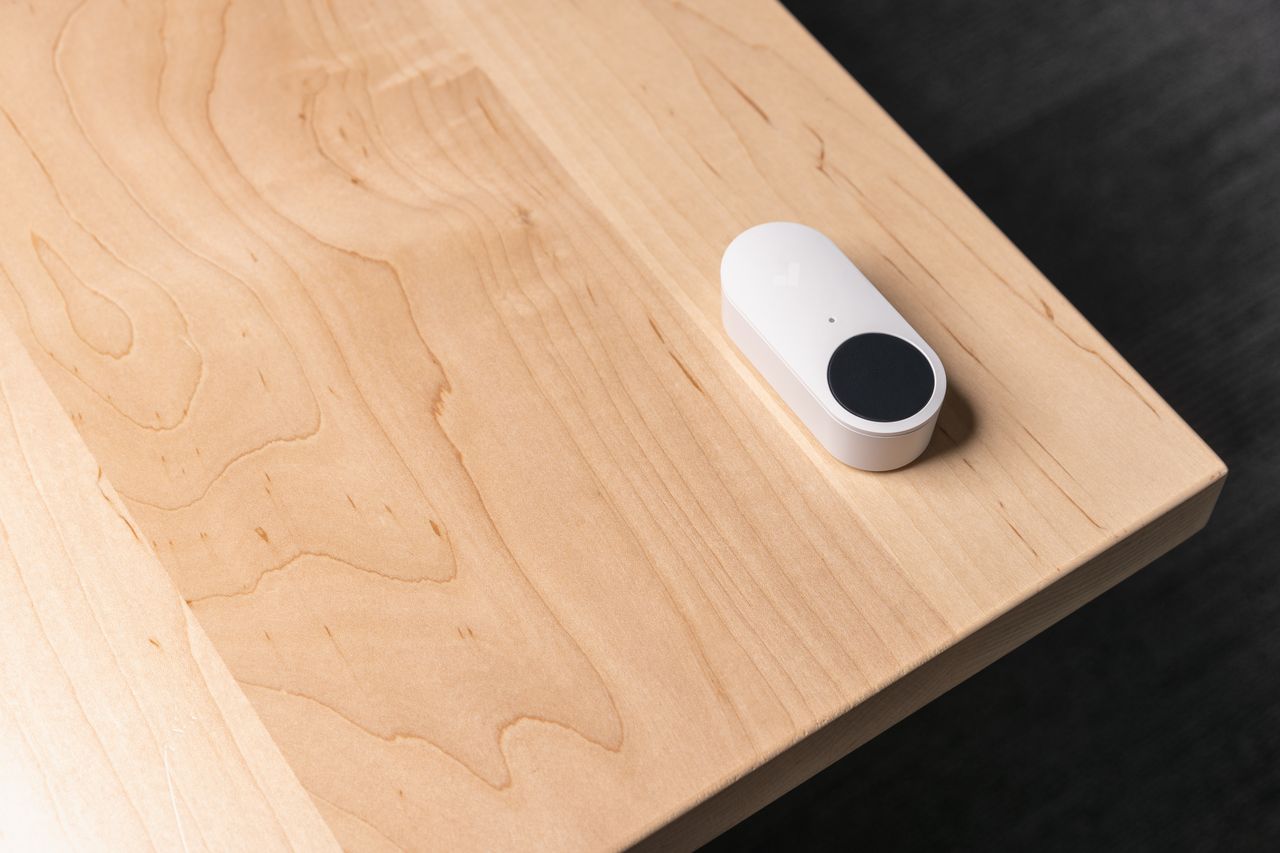
Panic buttons for schools should be evaluated as part of the school's emergency response plan. Before comparing devices, decide who receives an alert, what information they need, and what staff should do while help is being arranged. A button demonstration alone does not answer those questions.
This guide is a purchasing and testing checklist for school administrators, facilities teams, and IT staff. It does not promise a response time or assume that pressing a button automatically calls 911, locks doors, or shares video. Ask the supplier to identify which actions are included, which require configuration, and which depend on another service.
Start With the Response Plan
The U.S. Department of Education's emergency planning guidance centers on a collaboratively developed emergency operations plan, clear responsibilities, and training and exercises suited to the school. Use that plan to write the requirements for the panic button system.
Bring school leadership, facilities, IT, relevant accessibility staff, and local responders into the discussion. For each intended use, record:
- Who is allowed to activate the alert and how they are trained.
- Who receives it first and who provides backup if that person is unavailable.
- What location information appears and who maintains it.
- Whether the response is an internal request for help, a monitoring-center escalation, or another agreed process.
- How staff handle accidental activation without assuming that a canceled alert has recalled responders.
Keep the response steps consistent with the school's approved emergency procedures. Ask local responders to review the alert path before purchasing a system that claims to connect to them.
Compare Fixed Buttons, Wearables, and Apps
These are useful categories for organizing a demonstration, not guarantees about a particular product. Avoid choosing from a comparison chart that gives every wearable perfect coverage or describes every fixed button as battery-free.
| Option | Question to resolve in the demonstration | Evidence to request |
|---|---|---|
| Fixed button | Can authorized staff reach and operate it at the proposed location? | Mounting plan, power requirements, and a witnessed activation |
| Wearable device | Does this exact model work in the spaces where staff need it? | Coverage test results, charging or battery procedure, and location behavior |
| Phone app | Can intended users reliably access and activate it? | Supported devices, account setup, network requirements, and training plan |
| Combined system | Do the different triggers reach the same agreed response process? | A documented alert path and end-to-end demonstration for each trigger |
As a concrete reminder to check power assumptions, Verkada's wireless alarm device documentation describes the BR33 wireless panic button as battery-powered. A button being fixed to a desk does not make it hardwired or remove the need to maintain it.
Walk the Campus Before Choosing Locations
Mark proposed activation points on a floor plan, then walk them with the people who will use the system. Include spaces in the actual project scope, such as reception, offices, classrooms, portable buildings, and outdoor activity areas. Do not assume a successful demonstration in the main office proves coverage elsewhere.
For each location, ask the installer to demonstrate the normal activation method, the information delivered to the recipient, and how a device fault would be reported. Check that staff can operate the device in its intended mounting position. Review accessibility, accidental activation, and tampering concerns with the school team instead of applying one mounting rule to every room.
Create a location register that names the device, building, room, responsible staff role, and maintenance contact. Agree on how the register will change when rooms are reassigned or portable buildings move.
Where an Alarm System Door Sensor Fits
An alarm system door sensor and a panic button serve different purposes. In your project requirements, describe the door event you want to observe separately from the request for assistance you want staff to send. Do not assume that a door sensor identifies who passed through a doorway or that it provides an intruder's location.
If the proposed system connects panic alerts with school security cameras and access control, ask for a written sequence of events. Which cameras are displayed? Who can view them? Which door actions, if any, occur? Which actions require a person to confirm them?
Any proposed door-control response needs review by the people responsible for the school's emergency and building-safety requirements. Do not enable a blanket lock or unlock action based on a sales demonstration. Require the installer to show the approved behavior for the actual doors in scope.
Test Network and Power Dependencies
Ask for a simple diagram showing every connection between the button and the intended recipient. Mark the power supply and network dependency for each component. The answer should cover the complete alert path, not just whether the button can communicate with a nearby hub.
Use that diagram to agree on controlled acceptance tests with the installer and monitoring provider. Example questions include:
- What happens if the school's internet connection is unavailable?
- What happens if a hub, gateway, or staff phone loses power?
- Who is told that a device is offline or needs a battery replacement?
- If a backup connection is included, how will the team verify that it is operating?
- Which functions are unavailable during an outage, even when an alert can still be sent?
Schedule tests through the provider's approved process so they do not cause an unintended emergency dispatch. Record the actual result and unresolved issues. Do not mark an outage test successful solely because a device indicator stayed on.
Ask for an Itemized Budget
There is no defensible universal annual price for a school panic button system without a defined scope. Request a quote tied to the campus plan and the required response process.
Separate devices, hubs or gateways, installation, network work, software licenses, monitoring, connectivity, training, and ongoing maintenance. Ask which charges renew, which depend on the number of users or devices, and what happens when equipment needs replacement. Include support responsibilities and any additional cost to add another building.
For funding or legal requirements, ask the district's responsible administrator to confirm the current program or rule with the relevant government authority. Do not treat a vendor's state-count graphic as proof that a particular school or product meets a requirement. Record the actual requirement and the evidence the supplier will provide against it.
Make Training and Ownership Part of Handover
Choose a school role responsible for the system, with a backup contact. Handover should include the location register, configuration record, support contacts, maintenance instructions, and an agreed testing schedule.
Ask staff to demonstrate the activation process in a coordinated training session. Include the steps for reporting a fault and accidental activation. Plan how new staff and substitutes will receive the training they need, and how access will be removed when someone leaves.
Review what information the system stores, who can access it, how access is logged, and how long records are retained. Route privacy and legal questions through the district's responsible staff. A vendor's general compliance statement is not a substitute for reviewing the school's intended use.
Questions to Answer Before Signing Off
Use the following as a proposed acceptance checklist, adapted to the school's approved plan:
- Every device in scope appears in the location register.
- Each agreed activation method has been demonstrated to the intended recipient.
- Location labels and staff permissions match the approved configuration.
- Network, power, and fault-reporting tests have recorded outcomes.
- The school and provider have agreed on maintenance, training, support, and escalation responsibilities.
Ask for unresolved issues to be listed separately with an owner and a correction date. A completed installation and an accepted response process are different milestones; the purchasing documents should make both clear.
Frequently Asked Questions
Does pressing a panic button automatically call 911?
Do not assume it does. Ask the supplier and local responders to confirm the exact routing for the proposed configuration, including any monitoring-center step and the information delivered.
Will a wearable work on field trips?
Check the specific device and service. Ask the supplier to demonstrate the proposed off-campus use and explain its network and location dependencies. A campus coverage test does not establish off-campus operation.
How often should the school test the system?
Agree on the schedule with the provider and the school team using the product's maintenance instructions and applicable local requirements. Coordinate tests that could reach a monitoring center or emergency service before activating devices.
What should we prepare for an installer walkthrough?
Bring a current campus plan, the intended alert scenarios, the staff roles involved, and the existing network and security-system details. Monarch Connected's school security planning page is a starting point for discussing how the proposed panic button system fits the wider campus project.